Materials

Plugins:
AP16 [Power Blend] - Distort
Simple -
Pizza
Slice Mirror
Mehdi - Weaver
Preparations:
Copy the selection files to the selection folder of PSP
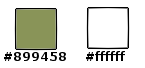
Used Colors
Foregroundcolor: #899458
Backgroundcolor: #ffffff
Other:
This translation is
written with PSP13
but can also be made
with earlier PSP
versions.
Tubes by
Thafs, Roma and
Guismo You can find Guismo's tubes
HERE
~°~°~°~°~
01.
Open a
new transparent image of 900 x 600 px
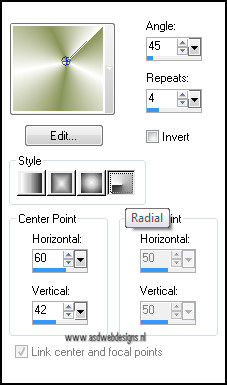
Set your foregroundcolor to
Foreground/Background Gradient (Corel_06_029) - Style: Radial
Fill your image with the gradient
Adjust - Blur - Gaussian Blur - 10
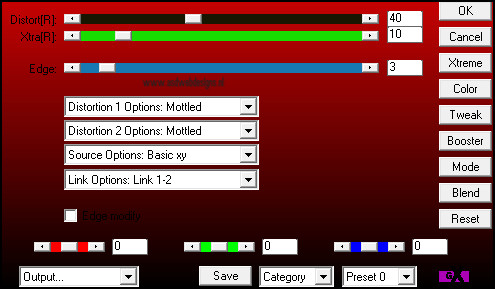
Effects - Plugins -
AP16 [Power Blend] -
Distort - GridEdge - Default
Effects - Edge Effects - Enhance
02.
Layers - Duplicate
Image - Resize - 80% - Resize all
layers not checked
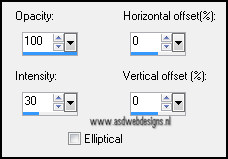
Effects - Reflection Effects -
Feedback
03.
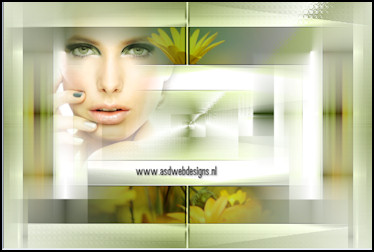
Open Tube "nicole-element5" - Copy and paste as
new layer on your image.
Hit the K key of your keyboard and pull both sides out to
the edge of the image:
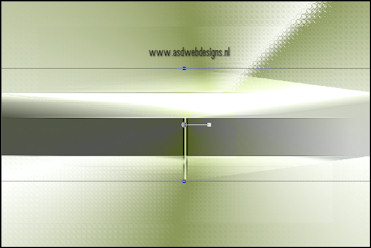
Effects - Image Effects - Offset
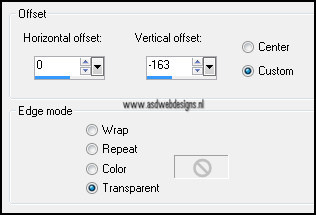
Layer Palette - The Blend Mode of this
layer is set to "Luminance (Legacy)"
04.
Layers - Duplicate
Image - flip
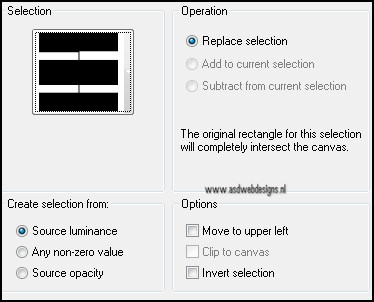
Selections - Load/Save Selection -
Load selection from disc - nicole-65b
Open Tube "calguyismist7310" -
Copy and paste as
new layer on your image.
Image - Resize - 65% - Resize all
layers not checked
Selections - Invert
Hit the delete key of your keyboard
Selections - Select None
Layer Palette - Set the Blend Mode of
this layer is set to "Overlay"
Layers - Merge - Merge Visible
05.
Layers - Duplicate
Image - Resize - 80% - Resize all
layers not checked
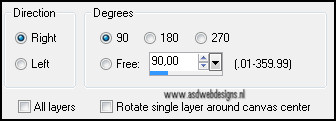
Image - Free Rotate
Effects - Plugins -
Simple - Pizza Slice
Mirror
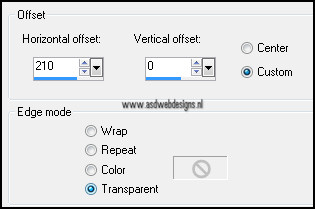
Effects - Image Effects - Offset
06.
Layers - Duplicate
Image - Mirror
Layers - Merge - Merge down
Selections - Load/Save Selection -
Load selection from disc - nicole-72
- Same settings as before
Hit the delete key of your keyboard
Selections - Select None
Effects - Plugins -
Mehdi - Weaver

07.
Open Tube "Roma_face_313-08" -
Copy and paste as
new layer on your image.
Image - Resize - 80% - Resize all
layers not checked
Move to the left like this:
Layer Palette - Set the Layer
Opacity of this layer to 60
08.
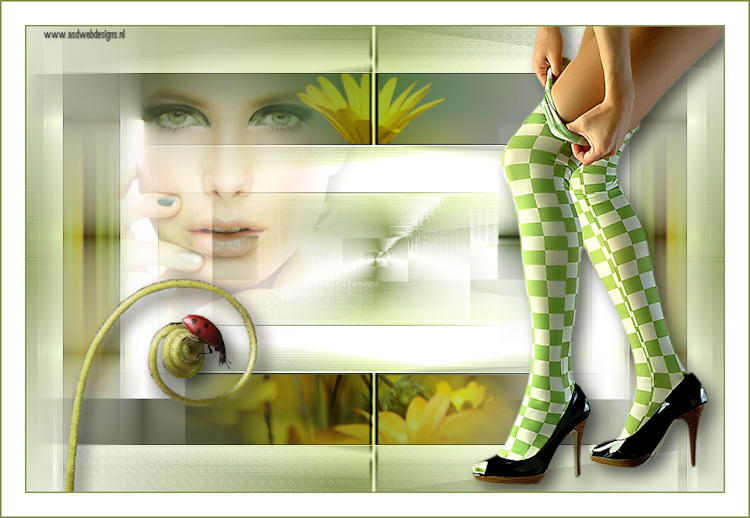
Open Tube "jambe_tunbed_by_thafs" -
Copy and paste as
new layer on your image.
Image - Resize - 90% - Resize all
layers not checked
Move to the right like this:
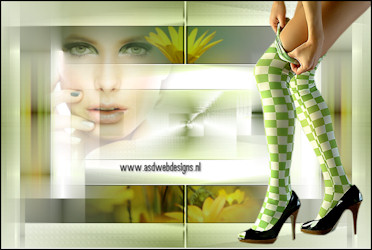
Effects 3D Effects - Dropshadow -
10 - 10 - 60 - 30 - #000000
09.
Open Tube "calguiscoccinelle21210" -
Copy and paste as
new layer on your image.
Image - Mirror
Image - Resize - 90% - Resize all
layers not checked
Move to the left like this:
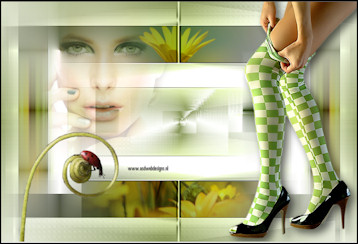
Effects 3D Effects - Dropshadow -
10 - 10 - 60 - 30 - #000000
10.
Image - Add Borders - Symmetric -
2 px - #899458
Image - Add Borders - Symmetric - 30 px -
#ffffff
Image - Add Borders - Symmetric -
2 px - #899458